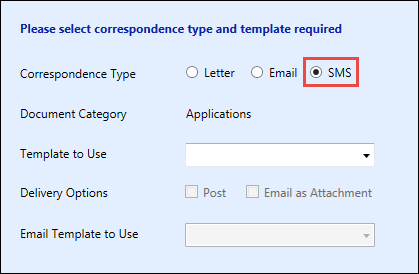
When the required record has been selected, you can create SMS correspondence in the Correspondence Wizard screens.
Refer to Configure SMS (Text Messaging) for information on setting up SMS functionality.
The Select Correspondence Required screen of the Correspondence Wizard is the initial screen displayed.
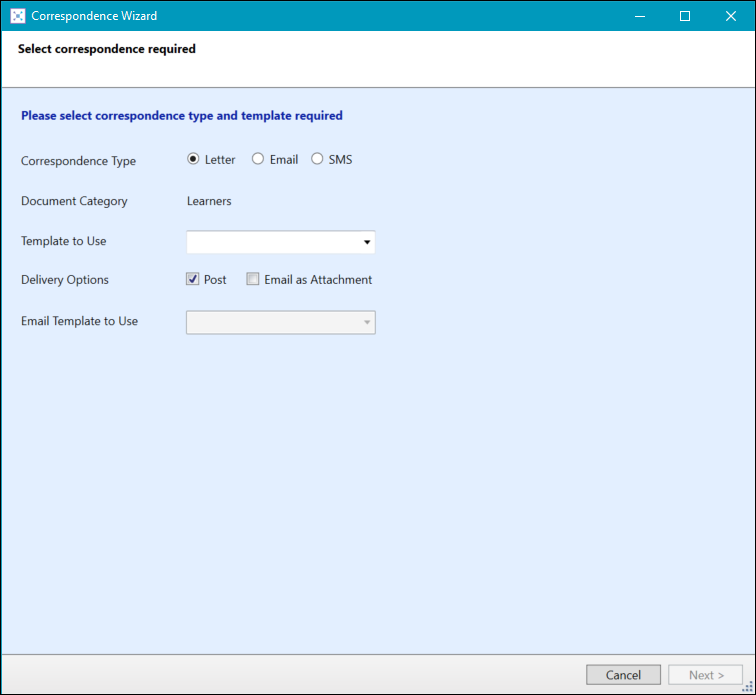
The fields on the Select Correspondence Required screen of the Correspondence Wizard are described in the following table.
| This field | Holds this information... |
|---|---|
| Correspondence Type |
The type of correspondence. Select SMS from the drop-down list.
|
| Document Category |
The document category (read-only). The Document Category field defaults to the relevant category depending on which screen you access the Correspondence Wizard from. |
| Template to Use |
The template to use for the correspondence. Select from the drop-down list. Templates are set up and managed in Template Management (accessed from the System ribbon). |
| Delivery Options | This field is only applicable for a correspondence type of Letter. |
| Email Template to Use | This field is only applicable for a correspondence type of Email. |
| Email Attachments | This field is only applicable for a correspondence type of Email. |
Click the Next button to display the Select the Recipients screen of the Correspondence Wizard.
The Select the Recipients screen of the Correspondence Wizard is used for selecting the recipients of the correspondence.

Select the Students option to send the correspondence to the selected learner's mobile phone number.
Select one of the following target recipient options for the correspondence:
- Students - sends the correspondence to the selected learner's mobile phone number
-
Contacts - select which contacts recorded on the Contacts tab for the learner to send the correspondence to
This is set to Include Residential Guardian by default.
Click the Next button to display the Review the Recipients screen of the Correspondence Wizard.
The Review the Recipients screen of the Correspondence Wizard shows the list of recipients of the correspondence and whether there are any validation exceptions and warnings for each recipient so you can manage them.
Any recipient with no exceptions or warnings will be selected by default.

Check the information for the recipients listed is correct and amend the details for the relevant correspondence (that is: mobile phone number) if required.
Errors are displayed for recipients without the relevant correspondence and are highlighted in red. Hovering over the cell with the cursor will display the reason for the error.

Warnings are displayed for duplicates of the relevant correspondence and are highlighted in yellow. Hovering over the cell with the cursor will display the reason for the warning.
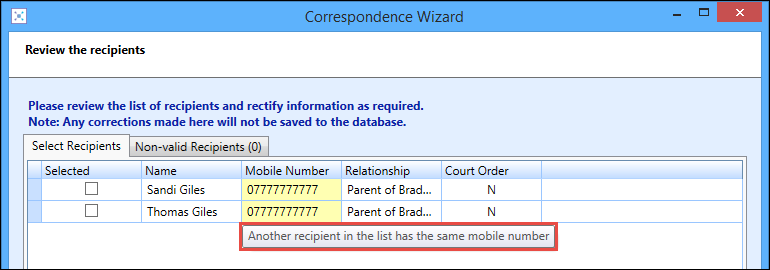
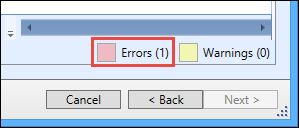
The number of errors and warnings are displayed in brackets at the bottom of the screen.
The Non-Valid Recipients/Learners With Invalid Data tabs display deceased learners, which means that deceased learners will not be listed on the Select Recipients tab and correspondence cannot be generated.

Click the Next button to display the Review Correspondence screen of the Correspondence Wizard.
The Review Correspondence screen of the Correspondence Wizard shows a preview of the correspondence to be sent.
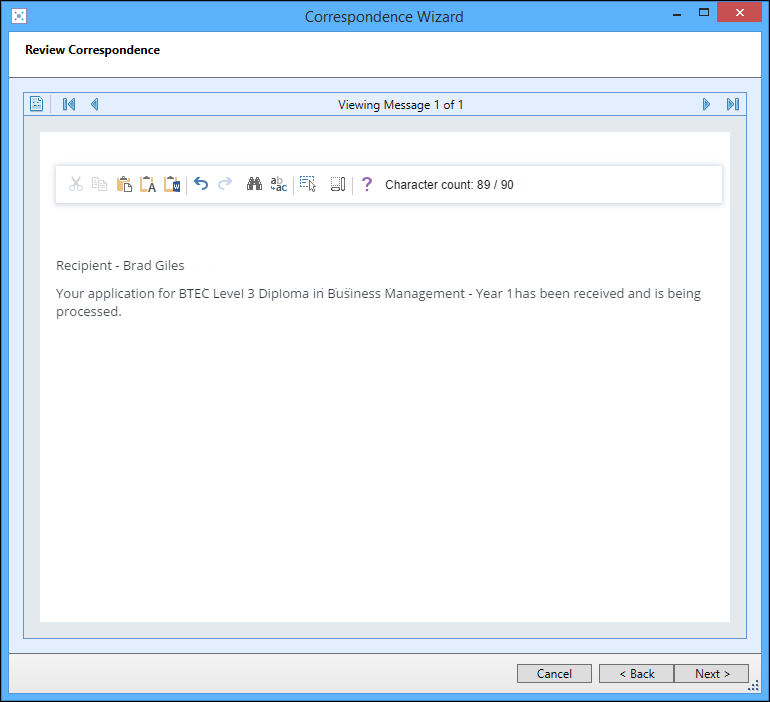
If more than one learner (or staff member in data miner) when creating bulk correspondence is selected on the previous screen, then a SMS message will be created for each recipient. These can be edited individually and viewed by clicking the Next, Previous, First and Last buttons at the top of the window.

From this screen you can edit the correspondence you have selected if the Content can be edited option is selected for the correspondence template in Template Management.
You may see some elements of the correspondence displayed in red. This means that the information that the correspondence needs to display for the learner is missing. You can amend the details here, but it will not be saved to the relevant record.
When you have edited the correspondence, you can preview it by clicking the Preview button at the top of the screen. This opens a new window enabling you to view the correspondence as a PDF in a browser window. From this screen you can print the SMS message or save the SMS message to a folder on your computer.
The options that are displayed will depend on what your default internet browser is and what PDF reader you have installed.
Click the Next button to display the Process Correspondence screen of the Correspondence Wizard.
The Process Correspondence screen of the Correspondence Wizard shows the number of correspondence that will be sent and the process options for the SMS correspondence type.
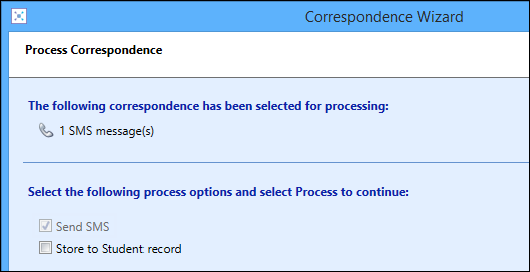
The following process options are available:
- Send SMS - indicates SMS are sent for this correspondence (read-only)
-
Store to Student Record - select whether to save the current SMS to the learner's Communications Log
The Store to Student Record option is selected and made read-only if the Store a copy in student's record option is selected for the correspondence template in Template Management.
Click the Process button to process the correspondence. This will then display the Correspondence Successfully Processed screen of the Correspondence Wizard.
The Correspondence Successfully Processed screen of the Correspondence Wizard shows the number of correspondence that was generated and any exceptions found.
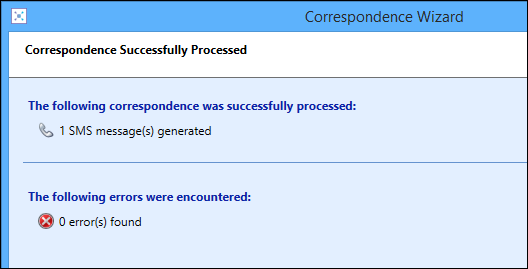
Click the Finish button to close the Correspondence Wizard and return to the learner's record.
If the Store to Student Record option was selected on the Process Correspondence screen, the correspondence is recorded and viewable in the learner's Communications Log.

